With less crowds and no permit stress, The Big SEKI Loop is a great alternative to the John Muir Trail (JMT). And because it’s a loop, you don’t need additional transport back to your car. That makes planning much easier. For better resupply options I planned a route different than usual, making it a Big SEKI Flip.
The Big SEKI Flip
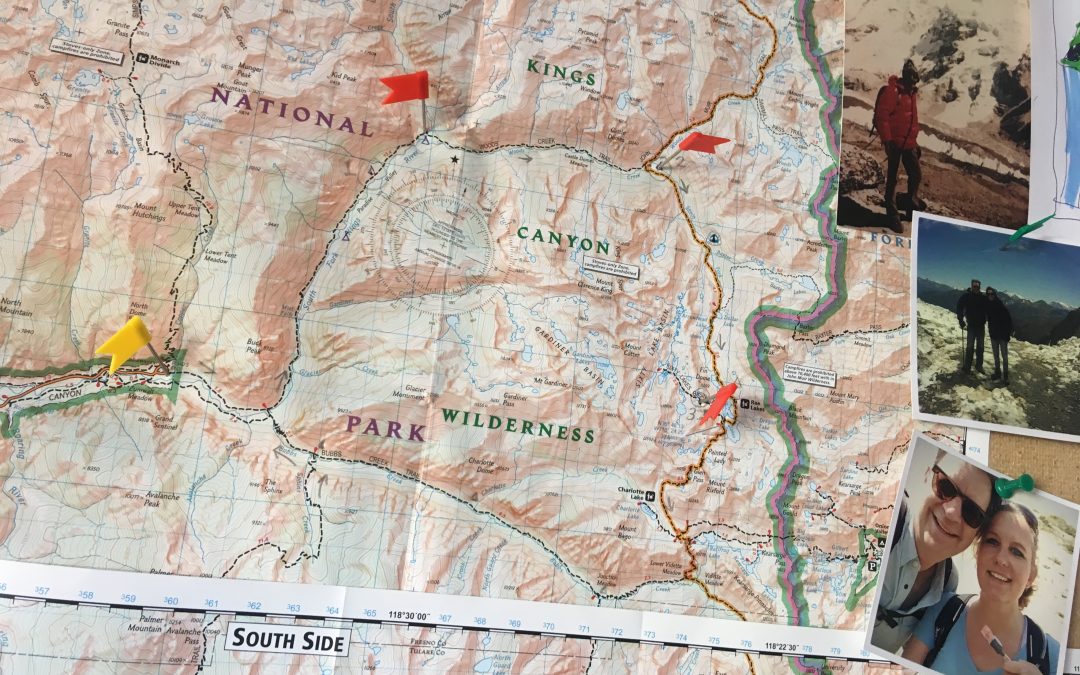
Start/end: Roads End, Cedar Grove, Kings Canyon National Park
Highest point: Forester Pass 13,105 (3.994 m)
Distance part 1: 113.3 miles
Distance part 2: 71.5 miles
Total distance: 184.7 miles (297 km)
Total Elevation Gain/Loss: +/- 44,014 ft (13.415 m)
Time: 13 days + 1 zero day
What is the SEKI Loop?
SEKI is short for Sequoia and Kings Canyon, the two National Parks that sit right next to each other in California’s Sierra Nevada. The Big SEKI Loop is not one official trail, but a combination of three major trails: the Rae Lakes Loop, the John Muir Trail and the High Sierra Trail. While there are other variants of the trail (see below), I plan to hike a double loop, cutting the trail in two parts. I will hike the Southern part first and go back to the trailhead halfway. Back at the trailhead of Roads End I will collect my resupply box with another 6 days worth of food and fuel.
Then I will travel the Northern part and return via the Woods Creek trail in the opposite direction of how I started. Thus I am making a ‘Flip Flop’ – a hikers term for starting a thru-hike in the middle and hiking up and down to complete the entire hike. So I named my hike the Big SEKI Flip.
This is my plan:
- Day 1-3: Woods Creek, Center Basin, Wallace Creek (Rae Lakes Loop + John Muir Trail), 48 miles
- Day 4-5: Moraine Lake, Hamilton Lake (High Sierra Trail), 32 miles
- Day 6: The Elizabeth Pass Trail to Roaring River Ranger station, 18 miles
- Day 7: Avalanche Pass Trail back to Roads End, 15 miles
- Day 8-9: Granite Lake and Cartridge Creek (Copper Creek Trail + Middle Fork Trail), 23 miles
- Day 10: Palisade Junction (Middle Fork Trail +John Muir Trail)), 14 miles
- Day 11-12: Lake Marjorie, Woods Creek (John Muir Trail), 22 miles
- Day 13: Back to Roads End (Rae Lakes Loop), 13 miles
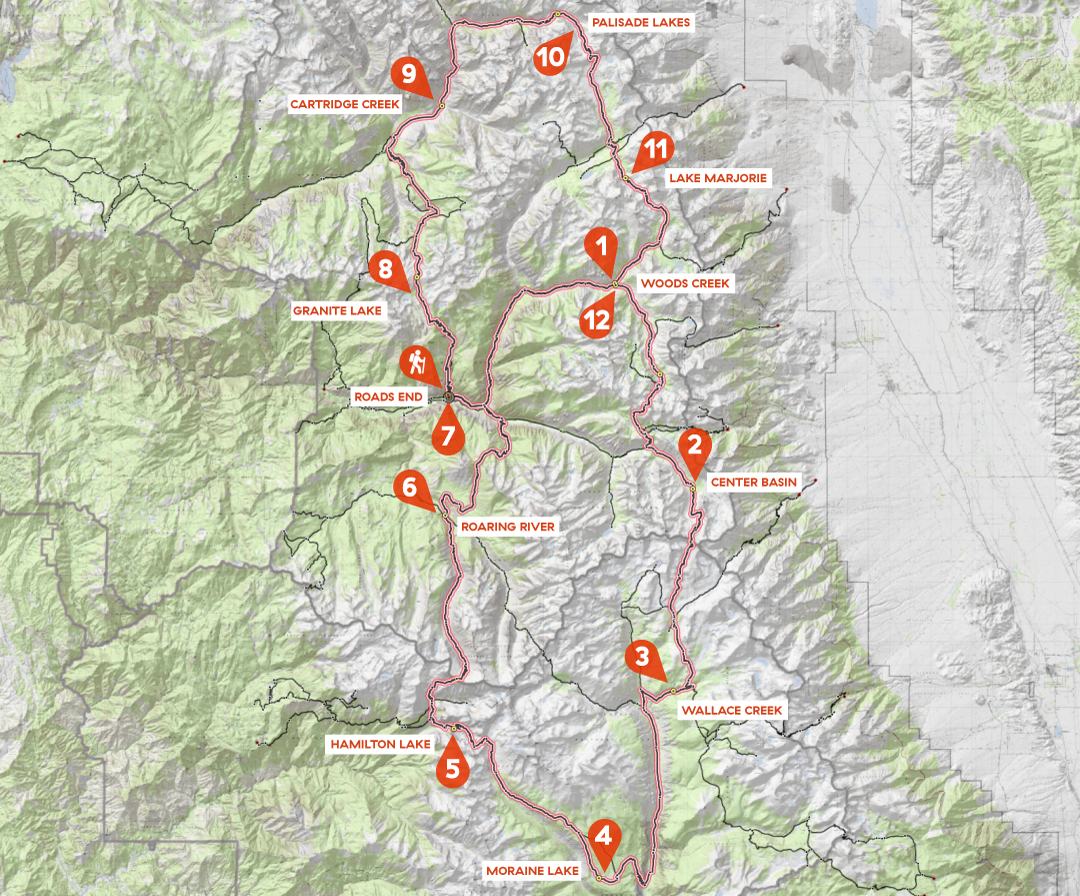
Map layer by the fantastic Sierramapper, where you will also find distances and elevations.
There are shorter variants of the SEKI Loop. In the Southern half of the trail there is a shortcut by which you skip almost the entire High Sierra Trail. After the Wallace Creek and Kern River Junction, head west over Colby Pass to reach Roaring River after 20 miles. This will shorten the loop with 25 miles. And of course you can skip the entire Northern part of the trail and shorten the loop with 72 miles.
The loop can be extended by various side trails (like the Sixty Lakes Basin trail or Charlotte Lake). Because you’re not following an ‘official’ trail, there is no rule about what path you should or shouldn’t follow. Even it it was an ‘official’ trail: there is no one to tell you where to go anyway.
Resupply
Some people people hike the entre loop in 10 days and carry food for the entire trip. I don’t want to carry more than about 6 or 7 days of food (my bear canister is just big enough to hold 6 days of food), and I am not in such a hurry. So I need to get a resupply somewhere down the trail.
Unlike on the major part of the JMT, there are not much options for a food resupply on the SEKI Loop. Actually: there is no option on the trail. There are a few options off the trail. A detour via Onion Valley to the town of Independence. This would mean quite an extra distance to cover and would take one or two days extra. Another option that I have seriously considered, is leaving the trail to the Whitney Portal campground (after summiting Mt. Whitney).
Both options have serious problems. Leaving Onion Valley and spending a day in the town of Independence is actually not allowed on your permit. It is obligatory that you spend every night in the wilderness. The same problem occurs when you leave the trail to the Whitney Portal. And you will need an additional permit from Inyo National Forest to hike back to the trail from Whitney Portal.
I chose to hike the Big SEKI Loop to avoid this kind of permit stress, so I decided to skip the Whitney area (which is a crowded place anyway) and just hike back to Roads End to resupply. That’s how my Big SEKI Flip was born.
For overseas hikers it is difficult, not to say impossible, to arrange resupplies themselves from the old continent. Enter Trailsupplyco.com. This friendly online service provided me with food and fuel in the right place on the right time.
What to read
Because of all the SEKI Loop variants, it took me some time to determine what trails I would exactly take. This involved a lot of online research, reading many books and studying various maps.
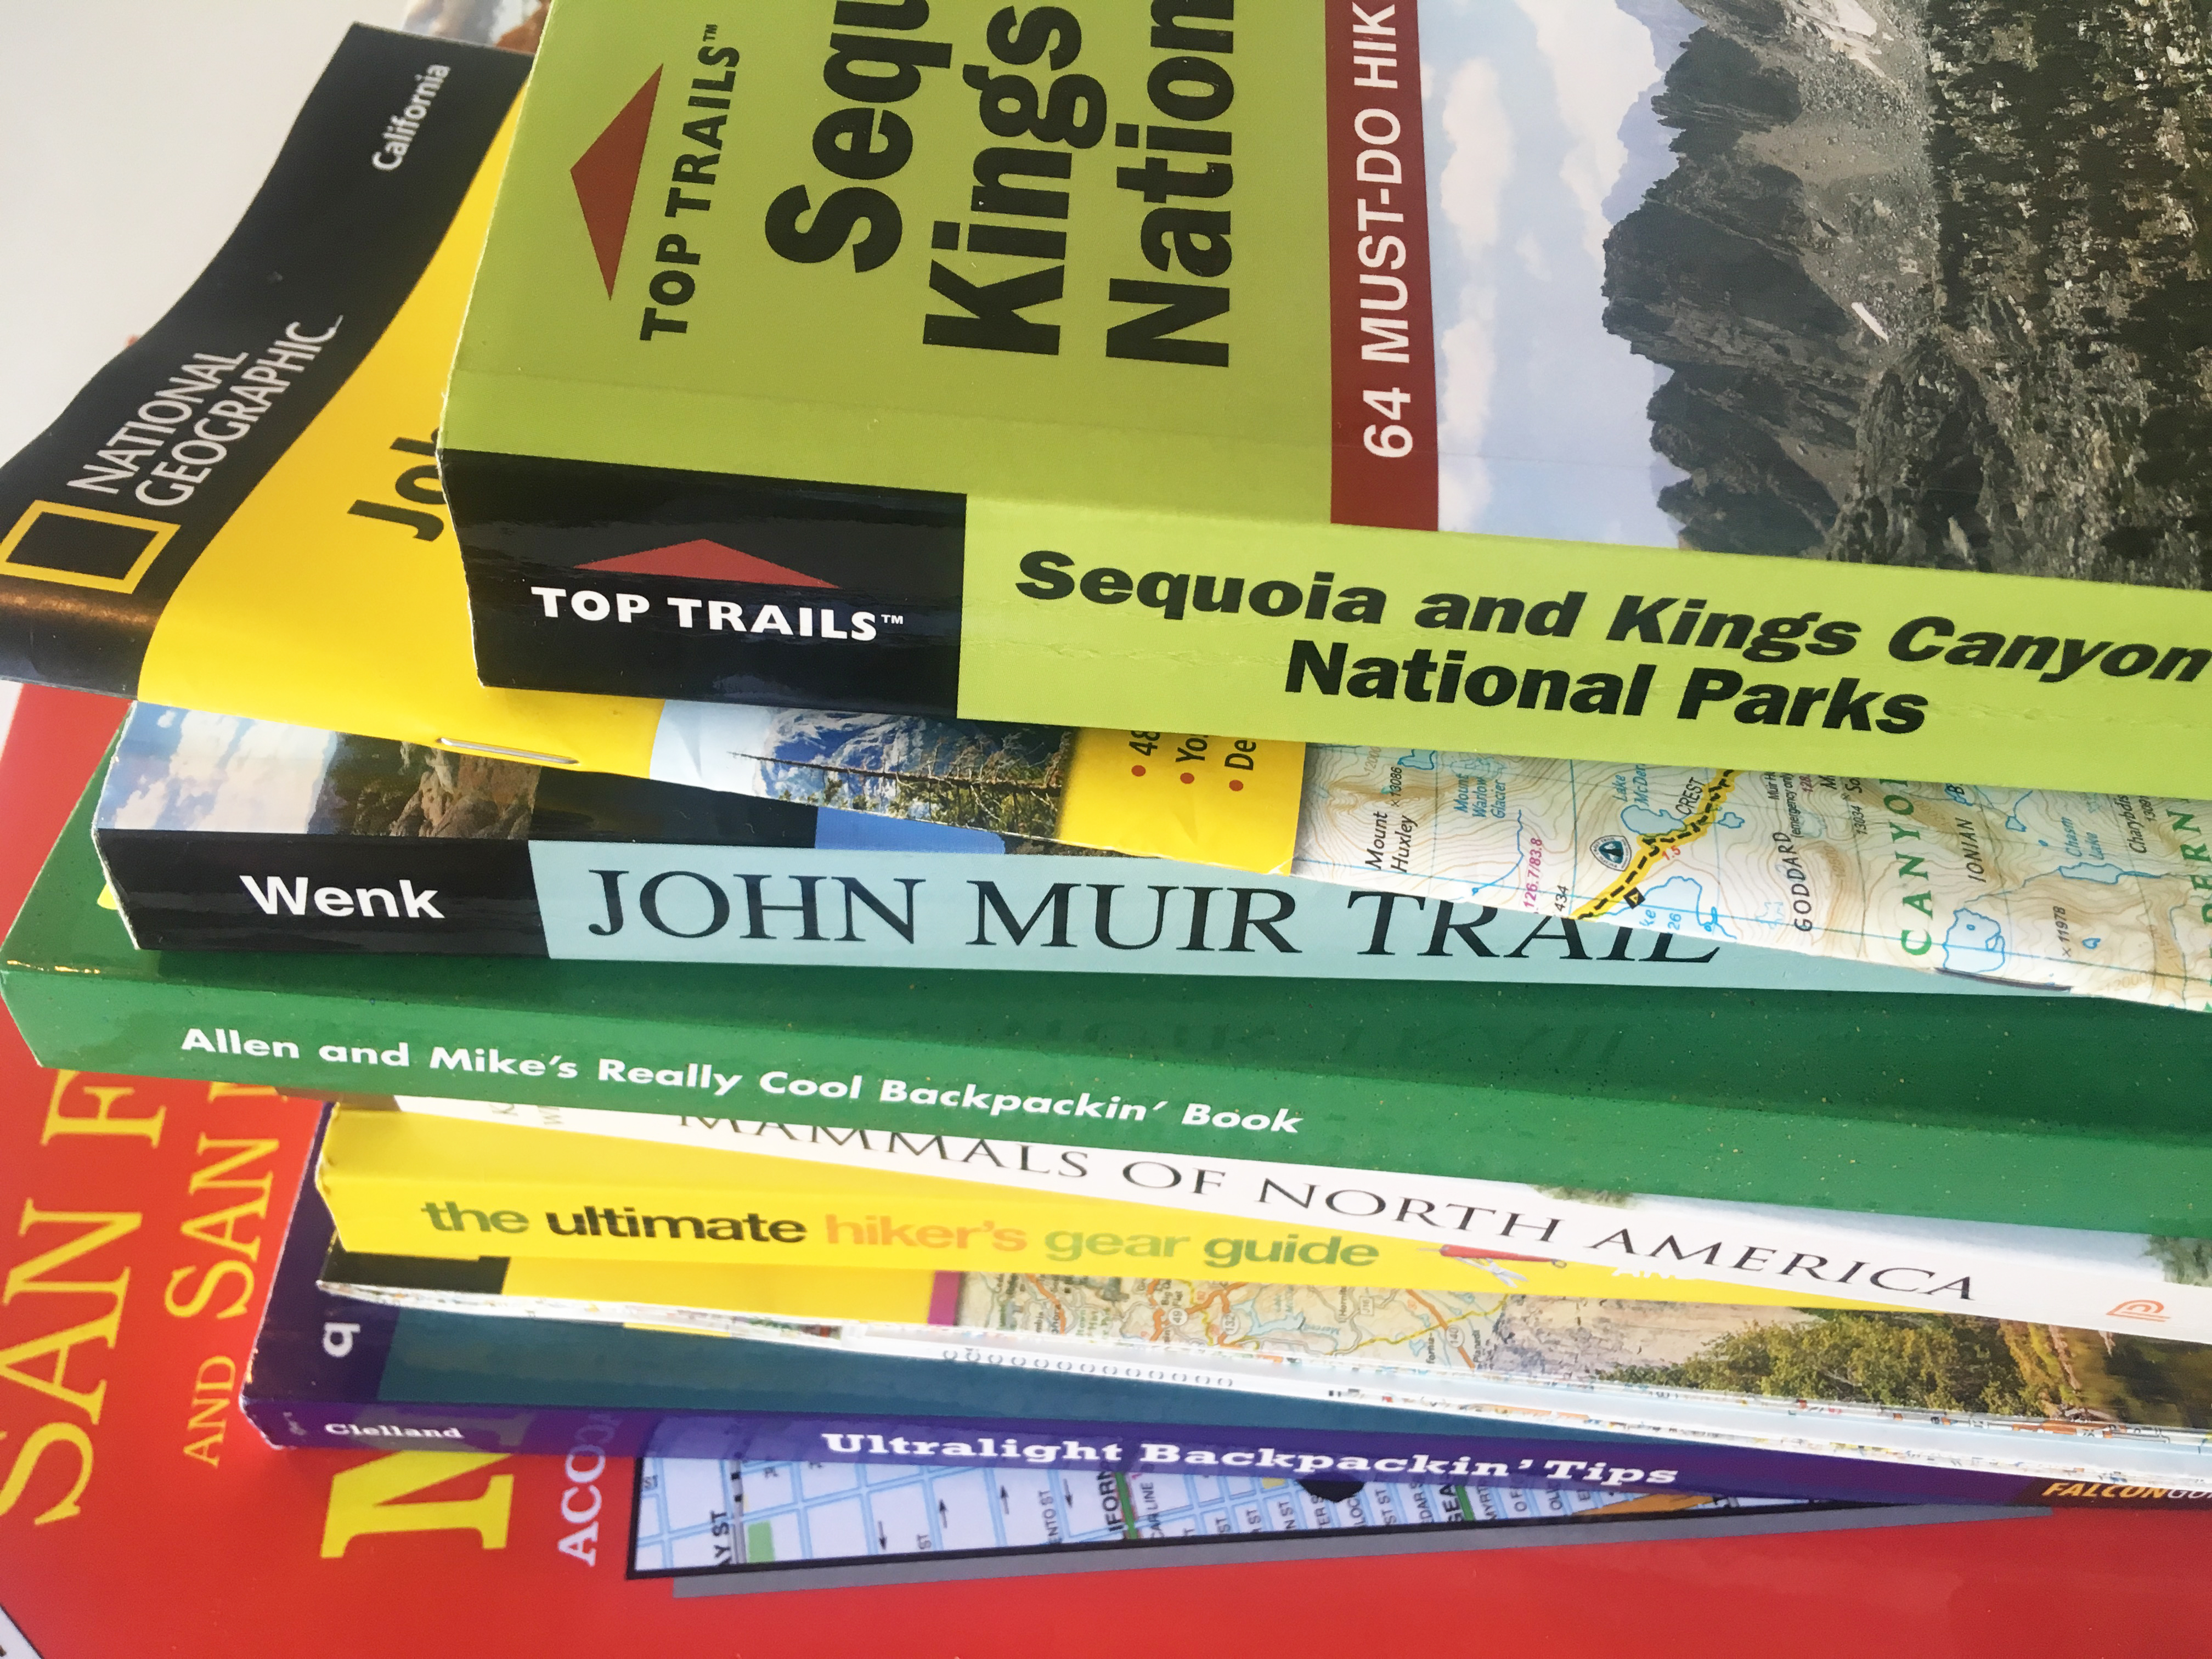
These three books all added essential bits of information for me:
- Mike White, Sequoia and Kings Canyon national Parks, Top Trails, 2nd edition, 2016 (for the Rae Lakes Loop-section)
- Elizabeth Wenk: John Muir Trail, Wilderness Press, 5th edition, 2015
- Zebulon Wallace, Plan & Go / High Sierra Trail, Sandiburg Press, 2016
All these books provided me with detailed information that I couldn’t find online: maps with exact campground locations, distances between campsites and important trail crossings. Also various tips (about trail junctions that are easy to miss) and additional data (campsite altitudes, water availability). Some parts of the books overlap – general hiking tips and descriptions of the National Parks are roughly the same. But I couldn’t get enough of reading, so that didn’t bother me at all.
And these are the maps I used:
- Sequoia Kings Canyon, Trails Illustrated/National Geographic, Topographic map nr. 205
- John Muir Trail, National Geographic Topographic Map Guide 1001
- United States California Nevada, National Geographic/Adventure Travel Map 3119
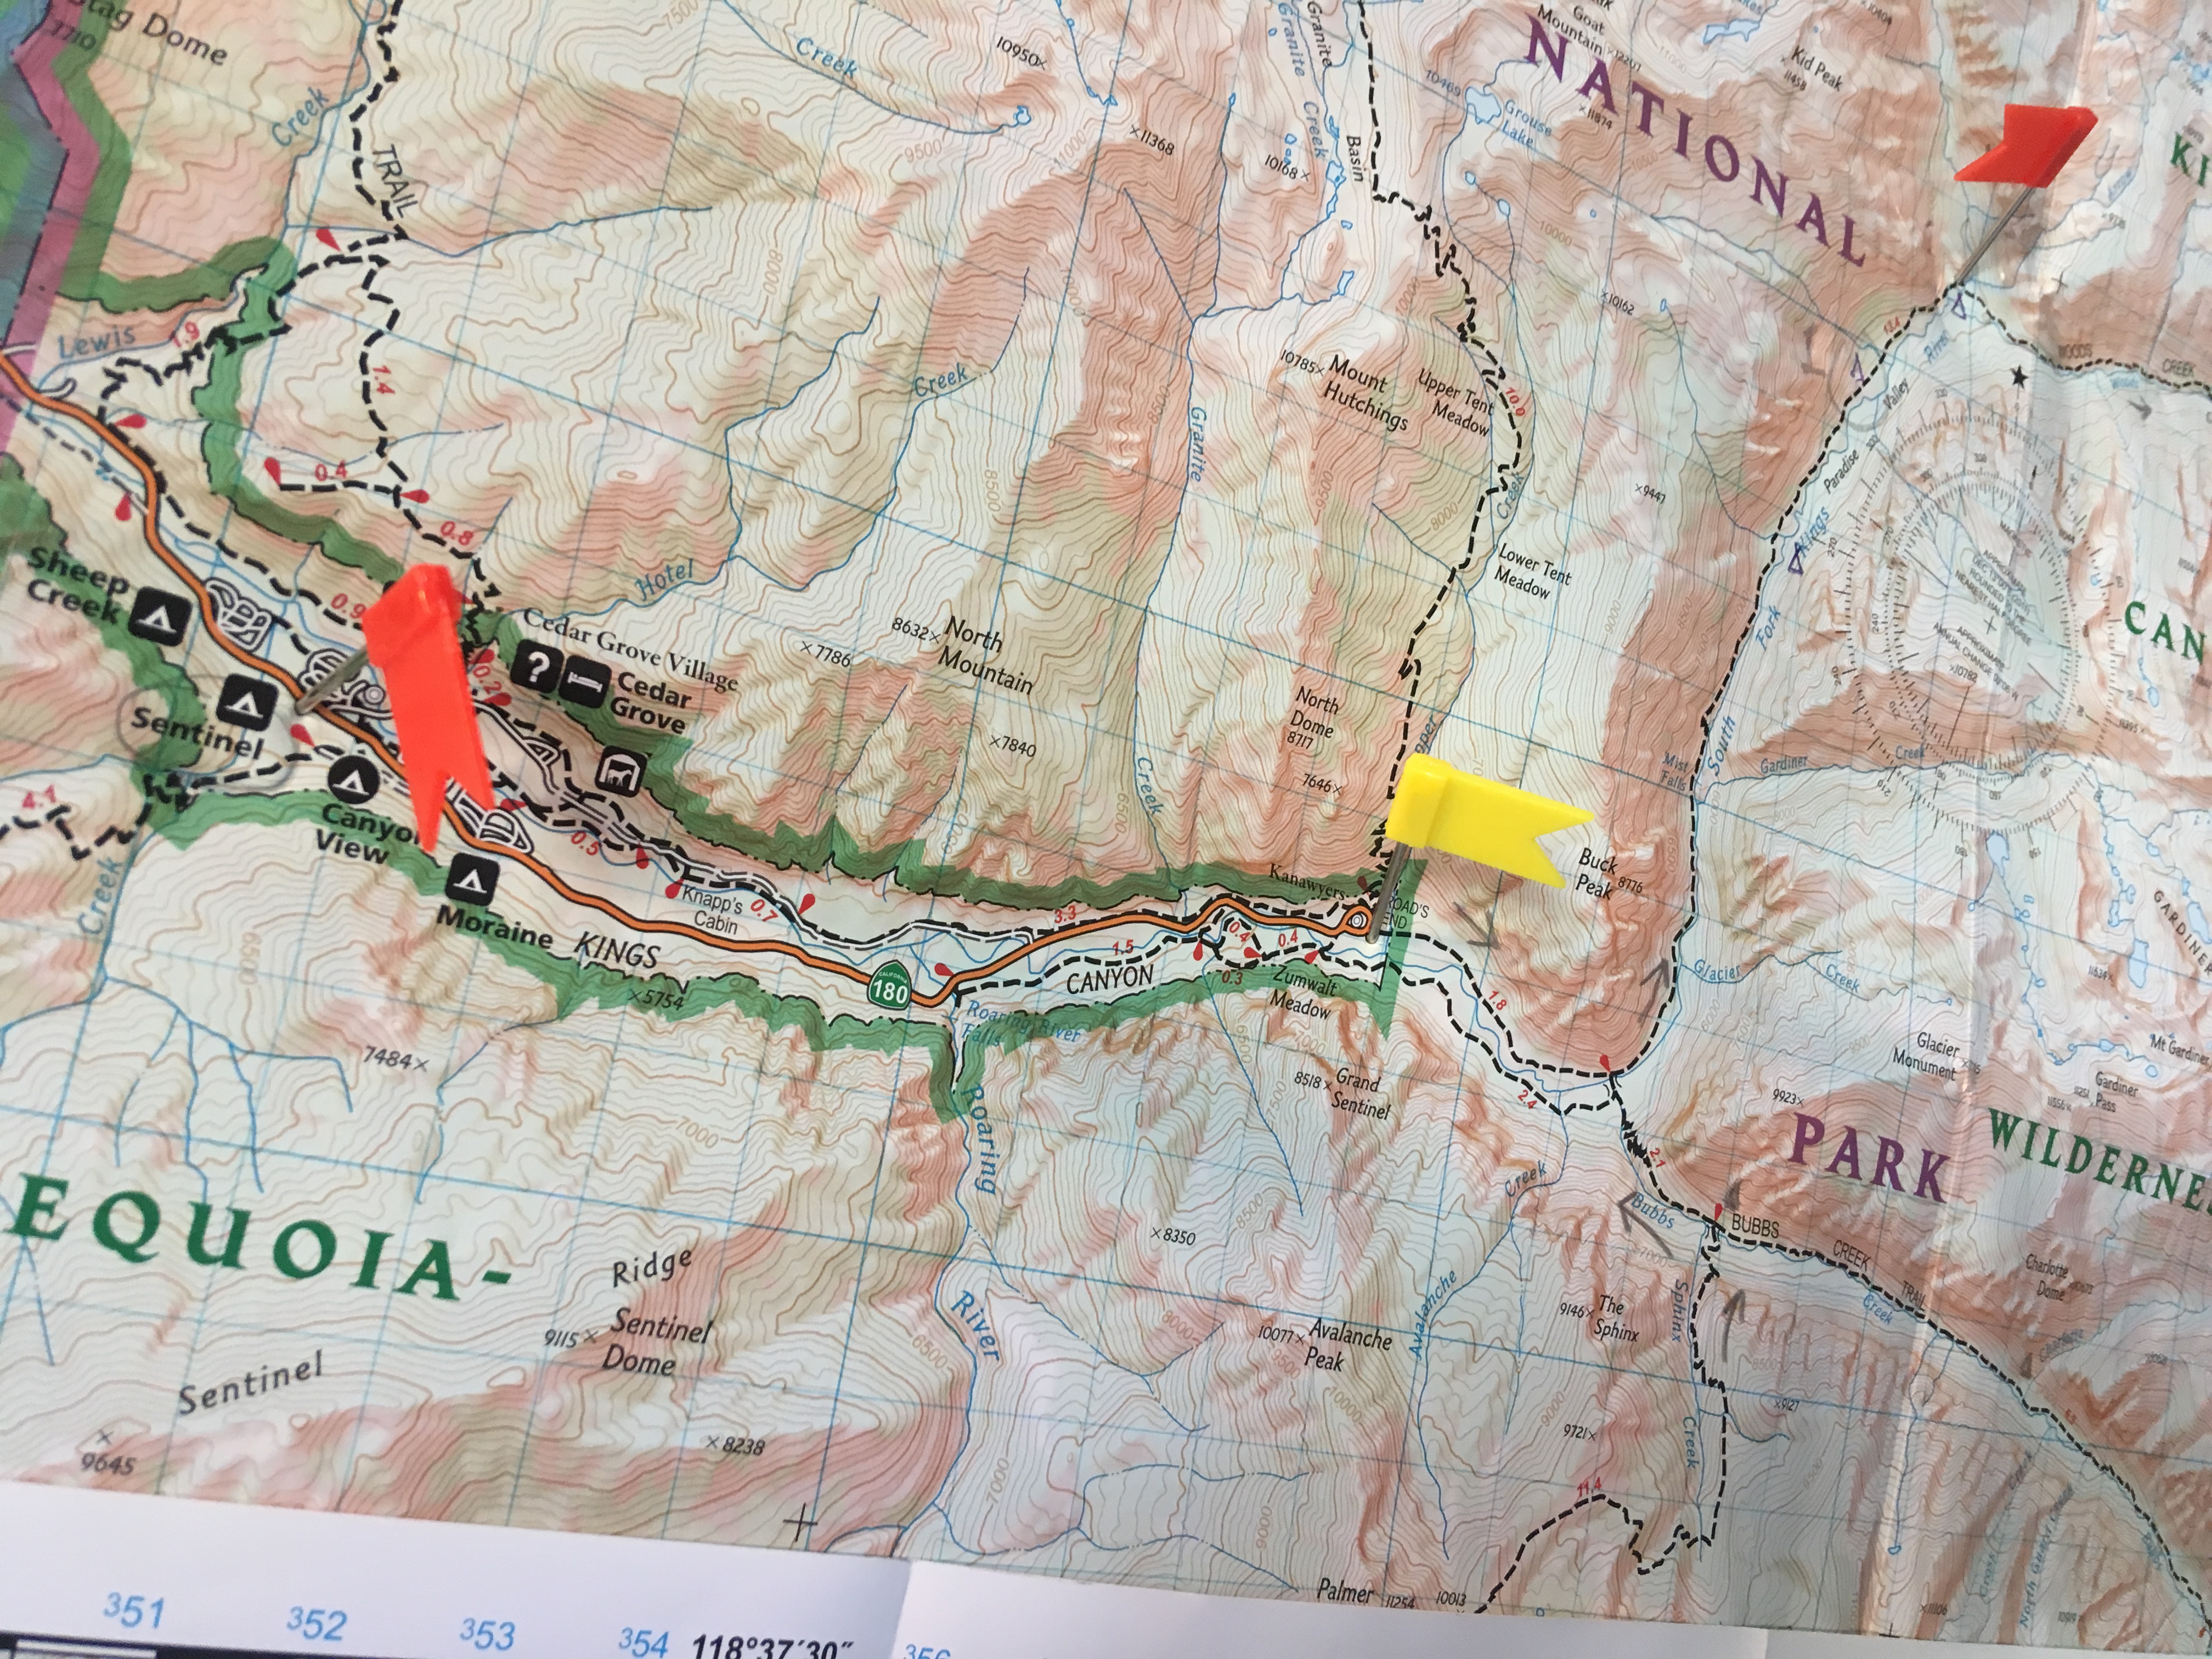
The Sequoia Kings Canyon, Trails Illustrated/NatGeo map was pinned on the wall of my home office all the time.
I actually bought two copies of the Sequoia Kings Canyon map, because it is printed on both sides. I pinned one side on the wall overlapping the other side, to create one big map. This was important to be able to have an overview of the total trip.
The John Muir Trail map is a actually little booklet that I used for more detailed information on the JMT-section of my hike. As the map is cut into 34 separate pages, the overview of the other map was essential.
I also bought a more general map of California, to find my way from the airport to the park. I will not rely on GPS-devices which may or may not be available in my rental car. Plus I might not understand the working of such a device.
When to go
The month of June is generally regarded as a bit early for hiking in the High Sierra. Mountain passes could still be in snow and creeks very wild with high waters. July and August are very popular months, but have the problem of bugs (mosquitos) en extreme heat. September is a bit cooler and, the best thing: most bugs will be dead by then. Also the waters will be less high, so creeks will be easier to cross. So I settled for the month of September.
For all starting dates from May 25 you need to make reservation for a Wilderness permit. The first day these become available is the 1st of March. Getting a permit was relatively easy: this was the main reason for planning this hike instead of the JMT anyway. For more information on this process, see my post about permits.
Update: I finally made my SEKI loop! But the reality of the High Sierra made me change my plans on the go, and I ended up hiking a total of 8 days. > Read all about my SEKI Loop.
Are you planning to hike the Big Seki Loop, or did you hike it already? Please let me know your thoughts in the comments.
I planned my BSL, with an entry date June 27 at Roads End, if it’s open. At least I’ll start at Lodgepole VC. This option will add 2 extra days to hit, and leave the trail.
Many thanks for your quick response.
Yes, I’ll plan for a rental car, the easiest and more confortable way. Also, a great opportunity to resupply with Bubbs creek shortcut… !
Hi Didier
When do you start ? Thanks
Hi,
For Overseas hikers, how is it possible to reach Roads end or Cedar Grove from Los Angeles (or from Fresno).
Thank you for your help.
Hello Didier,
Unfortunately the Shuttle System in Kings Canyon National Park does not reach Grant Grove or Cedar Grove.
I rented a car at San Francisco Airport and drove to Grant Grove, and the next day to Cedar Grove/Roads end.
This meant that I had a rental car for 10 days that was not in use, making this an expensive hike. On the other hand – this was my thinking – the 10 days in the wilderness are almost without cost.
Another possibility would be hitchhiking, but I think changes are very small you will be able to reach the park that way.
I think it was worth the money.
What is the “human waste” situation on this trail?
Hi Matt,
There are a few sites that have a pit toilet (Kern Hot springs, Hamilton Lake, Roaring River). On most if not all other sites you will need a trowel and dig a cat hole (and pack out your toilet paper). I did not experience any inconvenience on this trail similar to what I have read about the Mount Whitney area, where wagbags are mandatory.